CapCut Review: Unleashing Creativity of AI Video Editing
If you’d asked me a year ago whether a free video editor could replace my trusted paid tools, I would have hesitated. I’d tried countless “free” apps that ended up putting watermarks on my project or demanding subscription money at the last step. So, when I installed Capcut—just for a quick travel vlog—I had pretty low expectations.
What happened next? I was honestly surprised. Capcut’s setup took less than a minute. My editing workflow—importing, trimming, adding music, dropping in a fun template—just worked. There was no learning curve. I didn’t need to “figure things out” or google every feature. Even better, my exported video looked clean and professional, without any sneaky watermark. That’s not something you see in most so-called “free” editors!
For creators like me, who just want to get footage out fast without being nickel-and-dimed or roadblocked by locked features, Capcut is a versatile video editing app that offers a wide range of features to enhance your editing experience. From basic trimming and cutting to advanced filters and effects, it has everything you need to create professional-looking videos in just a few taps. Whether you’re a social media influencer, a content creator, or simply someone who loves capturing moments, CapCut is the perfect solution for all your video editing needs.
This article will guide you through the key features of CapCut, explore the pros and cons of using this app, provide tips for editing videos effectively, and showcase advanced techniques to take your editing skills to the next level. Additionally, we will compare CapCut to other popular video editing apps and offer a detailed tutorial for beginners on how to add special effects and elevate your videos to new heights. Get ready to unlock the full potential of CapCut and unleash your creativity like never before!
What is CapCut?
CapCut is a free, cross-platform video editor developed by ByteDance, the company known for TikTok. Its mission is to deliver powerful, easy-to-use editing tools that everyone—from social media newcomers to seasoned vloggers—can pick up and use with zero friction.
Unlike basic entry-level apps, Capcut puts real creative power at your fingertips:
- Fast, intuitive timeline and drag-and-drop design
- Built-in special effects, trending templates, smart filters
- AI-powered text captions, music syncing, animation tools
- Clean exports—no locked resolutions, no forced watermarks
Whether you’re making a smartphone TikTok or a YouTube travel montage, Capcut supports Android, iOS, Mac, PC, and a web version.
Meet the Capcut App Family
Capcut isn’t just for your phone. I appreciate how I can move effortlessly between:
- Mobile (iOS & Android): The full editor is optimized for touch, ideal for on-the-go vlogging.
- Web Version: Quickly edit from any browser—no software downloads, just sign in and go. This is really handy if you’re editing on a borrowed device.
- Desktop Apps: Available for Windows and Mac, with classic timeline controls and access to larger screen real estate for precision work.
It means you can start a rough cut from your phone on the subway, then polish it later on your laptop at home—all without worrying about transferring confusing file formats. Capcut’s cloud sync (with a free account) ties everything together nicely.
What Makes Capcut Stand Out?
Free vs Paid: The Honest Truth
Let’s be clear: Capcut’s core features are genuinely free.
You can edit, add effects, use templates, and export HD or 4K videos—all for nothing. There is a “Pro” version, which offers extra cloud storage and some premium effects, but the free version covers nearly any editing need for vlogs, TikTok, YouTube Shorts, or Instagram reels. Here's a quick comparison for clarity:
|
Feature
|
Free Version
|
Capcut Pro
|
|
Core editing
|
✔
|
✔
|
|
Templates, effects
|
✔
|
✔ (with extras)
|
|
AI auto-captioning
|
✔
|
✔
|
|
Stock music/audio
|
✔
|
✔
|
|
Export HD/4K
|
✔
|
✔
|
|
No forced watermark
|
✔
|
✔
|
|
Premium AI tools, extras
|
–
|
✔
|
|
Unlimited cloud backup
|
Limited
|
Unlimited
|
Pros of Using CapCut
I’ve exported dozens of vlogs and event recaps from Capcut, and the results consistently impress me.
- 4K export: Available on supported devices, with very little compression
- No “lossy” audio: My voiceovers and background tracks retain clarity
-
Visual consistency: Transitions and color grading stay faithful during export
Getting Started with CapCut
To begin editing videos with CapCut, simply download the app from the App Store or Google Play Store. Once installed, open the app and you will be greeted with a user-friendly interface that makes navigating the editing tools a breeze. Start by selecting the videos or photos you want to include in your project and import them into the timeline.
You could elevate your video aesthetics by pairing CapCut’s editing prowess with Bing Image Creator, an AI tool that generates stunning visuals for thumbnails and backgrounds. Simply describe your vision, and Bing turns it into shareable art.
Next, explore the various editing features CapCut has to offer, such as trimming, splitting, adding transitions, filters, and music. Experiment with different effects to enhance your videos and bring your creativity to life. With CapCut’s intuitive design and powerful editing capabilities, you’ll be on your way to creating professional-quality videos in no time.
CapCut Tutorial for Beginners: Step-by-step Guide to Using CapCut
Step 1: Getting Started: Installation & Main Interface
Getting started is simple. Download Capcut from the App Store, Google Play, or directly from the official Capcut website. Installation is fast and lightweight—no long sign-ups or hidden trials.
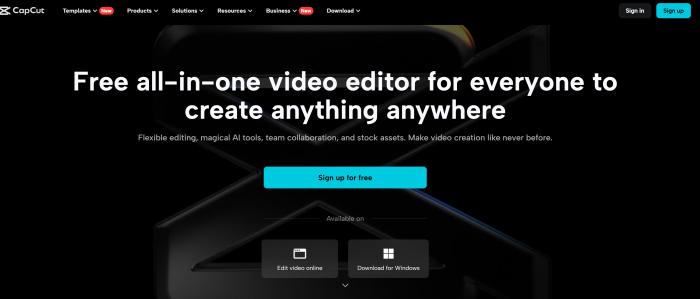
Once you open the app, you’ll see:
- “New Project” button: One tap to start editing
- Project library: All your creations, saved automatically
-
Easy menu: Access to Capcut templates, effects, and music
Capcut’s interface is clean and welcoming, even if you’ve never edited video before.
Step 2: Importing and Trimming Clips
With Capcut, importing material is a breeze. After starting a New Project, simply select your raw videos or photos from your device. They appear on the timeline in the order you choose.
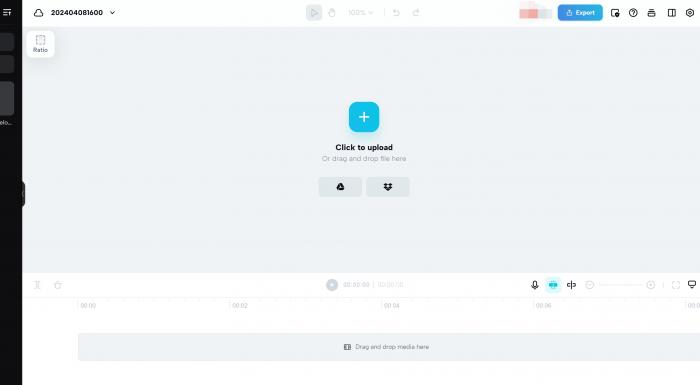
Editing basics are instantly intuitive:
- Tap (mobile) or click (desktop) any clip to select it
- Drag the edges to trim the start or end
- Tap “Split” wherever you need to cut a longer segment into highlights
- Move and rearrange with a simple drag. Clips snap into place, making alignment easy.
On my first day with Capcut, I edited a week of vlog footage—sunset shots, voice memos, B-roll—without reading a single instruction screen.
Step 3: Adding Templates, Effects & Music
Capcut offers a treasure trove of creative assets right inside the editor.
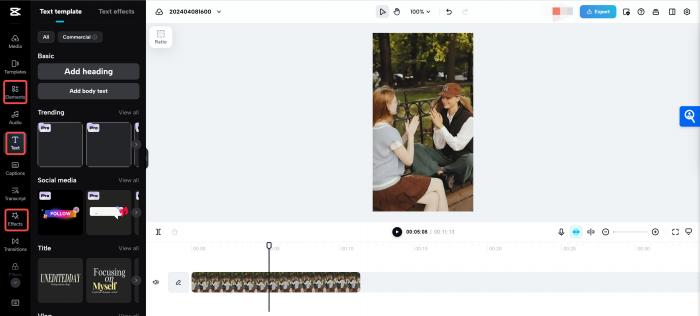
- Templates: Just tap “Templates” to see trending setups—transitions, text overlays, sync’d music—producers use on TikTok and YouTube. Want to make a “Day in My Life” reel or a quick recap video? Pick a template, drop in your videos, and Capcut handles the timing for you.
- Effects & Filters: Swipe through dozens of visual styles—cinematic color grading, retro flickers, fast-cuts, or dreamy transitions. Drag-and-drop to apply.
- Music & Audio: Need background tracks? Capcut includes a library of copyright-safe music you can freely use. You can also import your own music or even record a voiceover on the fly.
- Stickers & Text: Add subtitles, animated captions, or fun GIFs. Capcut’s AI will even auto-generate captions on command.
The best part: most of these creative tools are free, clearly labeled, and ready to use—no trial tricks, no creative restrictions.
Step 4: Exporting Without Watermarks
This is where most “free” video editors fall flat—by plastering a watermark across your creation or suddenly asking for a subscription just to get your file out in HD. Capcut takes a much more honest approach.
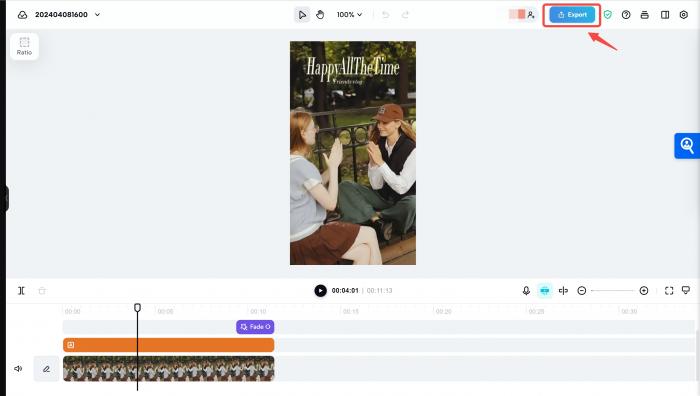
Export steps:
- Click the export/share icon
- Choose your preferred resolution (HD/4K available)
- Name your project and confirm location
- Tap "Export"—and your edit is ready, with no forced watermark or cap
Some trending templates might include a small “Made with Capcut” end card, but it’s easy to remove before publishing. For 99% of my daily vlogs and reels, I get a pro look, full resolution, and no annoying branding—even when I spend zero dollars.
For low-quality footage, preprocess videos with AI video enhancement tools to improve resolution and color accuracy before editing in CapCut. This combo ensures your final video looks polished and professional.
With this step-by-step guide, beginners can easily navigate through CapCut’s features and unleash their creativity in video editing. Happy editing!
Tips for Editing Videos with CapCut
Looking to take your video editing skills to the next level with CapCut? Here are some expert tips to get you started:
Organize your footage: Before diving into the editing process, make sure to organize your clips in a logical order. This will make the editing process much smoother and more efficient.
Utilize transitions: Adding transitions between clips can help to create a seamless flow in your video. CapCut offers a wide range of transition effects to choose from, so experiment with different options to see what works best for your project.
Play with filters and effects: CapCut comes with a variety of filters and effects that can enhance the look and feel of your video. From vintage filters to dynamic effects, there are endless possibilities to add a creative touch to your edits.
Master the timeline: Understanding how to use the timeline in CapCut is key to creating professional-looking videos. Take the time to familiarize yourself with the timeline features, such as trimming, splitting, and merging clips, to take full advantage of CapCut’s editing capabilities.
By following these tips and tricks, you’ll be well on your way to creating stunning videos with CapCut. Happy editing!
Conclusion
Personally, Capcut is still my go-to editor when I need a fast, free, and reliable workflow for my vlogs and short-form videos. But I do take a couple of precautions:
- Always save/edit locally: Keep copies of project files and finished videos on your device or backup drive
- Consider cross-platform options: In case you ever need to switch, try exporting in standard formats (like MP4)
- Stay updated: Follow tech news or the Capcut blog for any potential service changes
No editor is future-proof—but right now, Capcut remains a safe, mainstream choice for the vast majority of creators. Furthermore, the pros of using CapCut, such as its seamless integration of special effects, transitions, and filters, make it a standout tool in the crowded video editing landscape. Its ease of use and accessibility make it a must-have for content creators seeking to elevate their storytelling capabilities.
In conclusion, CapCut offers a robust platform for editing videos with ease and finesse, making it a valuable asset for anyone looking to create high-quality content. Whether you are a novice or a seasoned editor, CapCut’s innovative features and user-friendly interface make it a solid choice for bringing your creative vision to life.