Clear Vision: A Comprehensive Guide on How to Unblur Images
Blurred images are caused by multiple factors, including motion, poor focus, or low resolution. Understanding the causes of blurring is essential to using the appropriate methods of correction. By the end of this article, you'll have the knowledge and abilities to convert blurry images into sharp, impressive images that people will want to focus on.
Why Need to Unblur Images?
It hits me every summer: after a long day exploring somewhere new, I check my camera roll, excited to relive the magic—only to find half my “greatest shot ever” moments are heartbreakingly blurry. That split-second handshake, the friend who leaped just as I pressed the shutter, or the shake from juggling a coffee and my phone—yup, it happens to all of us. Once, I even discovered every single photo from my niece's birthday party came out fuzzy. My family laughed it off... but it stung.
Why do we care so much about fixing blurry images? Because sometimes, a once-in-a-lifetime memory depends on a single clear photo. Maybe that graduation selfie came out smudged, or the vacation sunset is a pastel smear instead of a crisp memory. Blurry images don’t just look “off”—they feel like missed opportunities.
First, the blurring of images is crucial to photographers who want to document and preserve the specific details of their subjects. Sharp, detailed images aren't just aesthetically pleasing, they also communicate a sense of professionalism and knowledge. By displacing images, photographers can guarantee the highest standards of quality and clarity in their work.
Additionally, the unblurring of images is of paramount importance to graphic design and digital art students who want to communicate messages and inspire emotions. Whether it's creating marketing materials, creating digital artwork, or reworking on photographs, the capacity to blur images has the effect of producing content that is both visually pleasing and powerful.
Finally, preserving the images is crucial to everyday users who want to augment their personal photo libraries or improve the quality of images posted on social media. Whether it's recording special moments with family and friends or recording the life's exploits, clear and sharp images are valued for their capacity to instill memories and emotions.
The Science of Blur: What's Actually Happening?
Several culprits can ruin an otherwise perfect shot:
- Motion Blur: Whether it's shaky hands, jumping pets, or runaway kids, any movement during the snap can smear all those details.
- Out-of-Focus Shots: Missed autofocus (or a stubborn phone camera) leaves everything with that telltale softness.
- Compression Blur: Screenshots or images saved from social media often lose detail due to heavy compression—think text that's suddenly unreadable.
And it’s not just photography pros who face these issues; most amateur smartphone pics fall prey to accidental shake or focus failure. With so many moments only happening once, the drive to salvage blurry photos is totally understandable—and, honestly, relatable for anyone who’s faced that sinking feeling post-event.
Unblurring isn’t about perfectionism. It’s about rescuing stories and sharing details that matter with friends, family, or your followers.
Choose an Image Unblur Tool
Ever tried “Googling” how to unblur a photo, only to be bombarded with a dizzying lineup of apps and sites—each promising miracles, but half demanding a credit card or messing up your image with a giant watermark? I’ve lost count of how many times I’ve tested a so-called “free” unblur tool, just to find my pic stamped with a bold logo or downgraded to a grainy thumbnail. So let’s cut through the clutter and focus on what really matters.
Main Categories of Unblur Tools:
- AI/Deep Learning Solutions:The big players (like Fotor, Picwish, VanceAI) use machine learning models—trained on millions of photos—to recognize patterns and logically rebuild lost details. These tools work remarkably well for portraits, simple backgrounds, and text-heavy images (think old family photos or fuzzy screenshots).
- Classic Sharpen Filters:Found in mobile or desktop apps (Photoshop, GIMP), these boost edge contrast and can help with minor blur—but often make noise and artifacts worse, especially for severe cases.
- All-in-One Editors:Online apps like Pixlr or BeFunky blend basic AI with classic sharpening; they’re lightweight, ideal for casual fixes, and rarely require downloads.
Quick Tool Comparison
|
Tool
|
Free Tier?
|
Watermark?
|
Max Output
|
Best For
|
|
Fotor
|
Yes
|
Small/Removable
|
1080P+
|
Faces, scenes
|
|
Picwish
|
Yes
|
Light footer
|
1080P
|
Text, quick fixes
|
|
VanceAI
|
Yes
|
Marked in free
|
1080P
|
Detail restoration
|
|
Pixlr X
|
Yes
|
No
|
1080P
|
Social media, fast
|
|
BeFunky
|
Yes
|
No
|
720P
|
Documents, easy UI
|
Note: "No watermark" means there’s no visible logo or brand stamp on your downloaded results. Some tools add subtle marks or reduce image quality unless you upgrade—always preview the output first!
Editor's Top Picks (Real-World Experience)
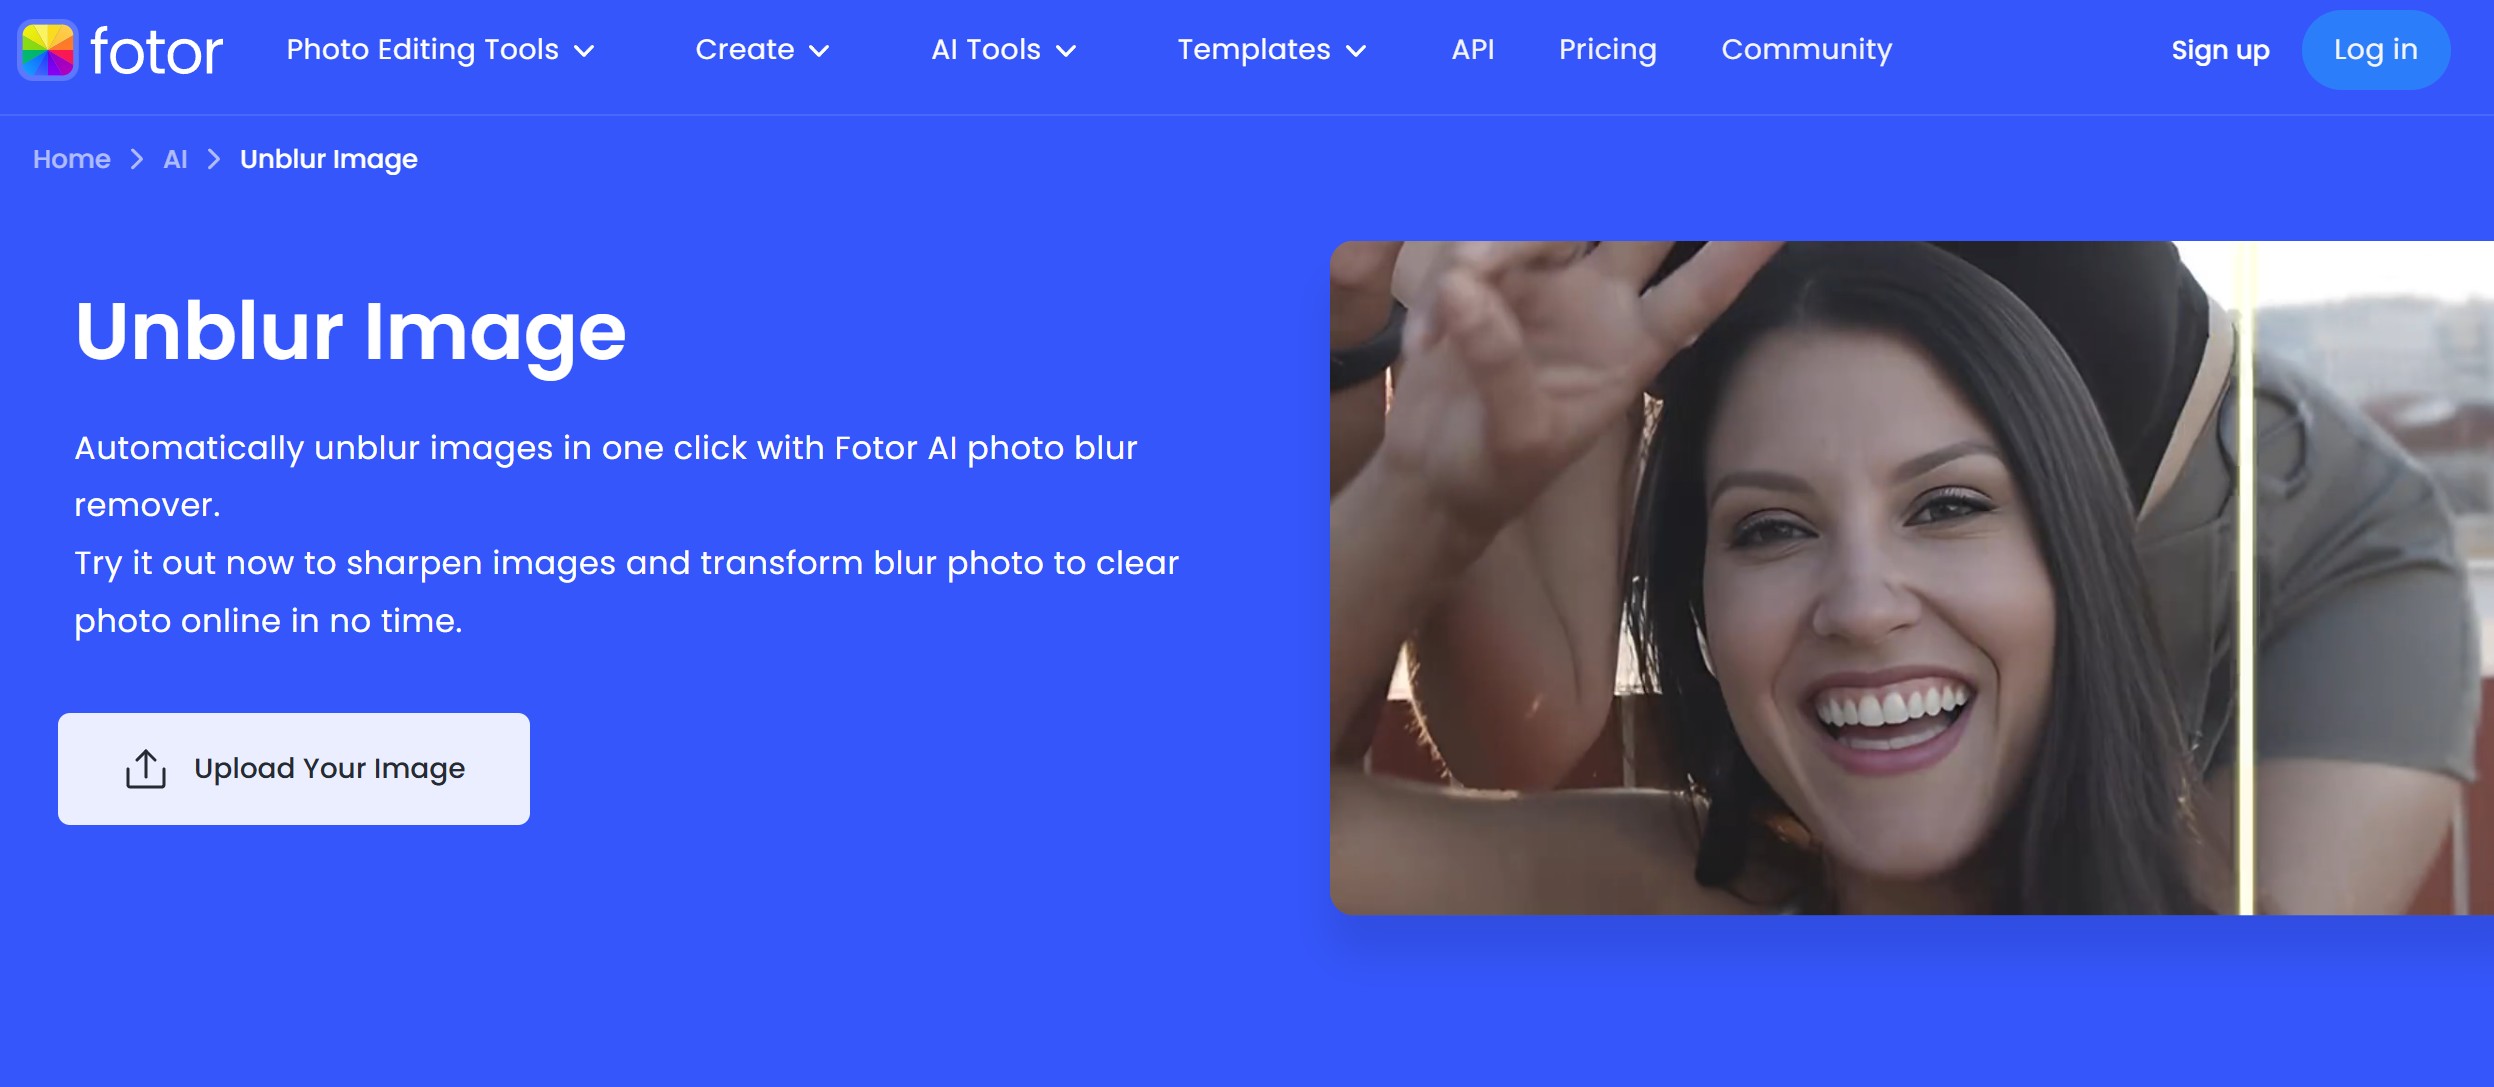
- Fotor: Strong AI, user-friendly. Free tier works, but premium ($8.99/month) removes watermark and unlocks max resolution. Try Fotor »
- Picwish: Super simple—zero sign up, 3 free uses/day, minimal branding on output. You may also be interested in Picwish Review: Enhancing Your Photos to Higher Quality to better understand how it improves blurry images effectively.
- VanceAI: If you’re fixing detail-heavy shots, VanceAI’s pro-level AI really shines. Free tier is watermarked and capped, but worth a try for difficult cases. Try VanceAI »
How to Unblur an Image: Step-by-Step Guide
Ever felt like giving up when that “perfect” shot turned out a blurry mess? Good news: you don’t need to be a Photoshop pro—or even download anything complicated. You can unblur most photos online in three simple steps, with tools that are genuinely beginner-friendly and (yes!) can work for free.
Step 1: Upload Your Blurry Photo
- Pick Your Tool: Choose a trusted site—Fotor, Picwish, or VanceAI—for your first try.
- No Sign-up Stress: Most offer free trials or uses without registering.
-
Photo Tips: Jpeg/PNG work for all these platforms. For best results, use the biggest original version you have—not screenshots or shrunken social media copies.
You can do the same on Picwish or VanceAI, all with a drag-and-drop interface. Within seconds, you'll see your photo ready for enhancement.
Step 2: Adjust & Preview
2.1 Fotor: One-Click with Options
- Hit the “Enhance” or “Unblur” button.
- Fotor auto-applies AI processing; you can slide the intensity bar for subtle tuning.
- Free plan: Download is low/medium resolution with a faint watermark.
-
Pro plan: High-res, watermark-free. Check before downloading!
2.2 Picwish: No Registration, Fast Output
- Click “Unblur” after upload—Picwish does the rest in ~5 seconds.
- Preview before downloading. On free plan, the only visible branding is a small “Picwish” footer.
- Upgraded plans offer ultra HD and watermark-free results.
2.3 VanceAI: Ultimate Detail (for Tricky Images)
- Choose the “AI Model”—try the default first.
- Click “Start to Process.” Advanced: choose “Strong” for motion blur, “Mild” for low-res portraits.
- Watermarks appear on free outputs but not in paid versions.
Once the image is submitted, give the tool a few minutes to analyze the data associated with the image. Depending on the magnitude of the blur and the size of the image, this procedure may take a few seconds.

Step 3: Download and Optimize
After the processing is finished, the tool will show a previews of the unprocessed image. Review the results and make sure the distortion has been adequately rectified. If approved, you can now proceed to the download of the enhanced image by clicking the "Free Image" button.
If you're exploring more ways to enhance photo quality, check out these Top 6 AI Image Sharpeners for even more advanced restoration techniques.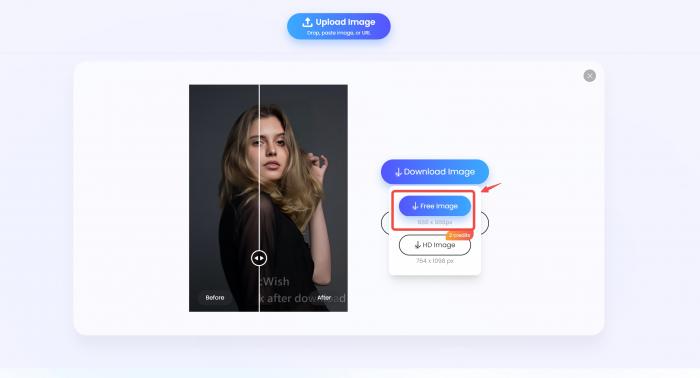
FAQs
Q: Will unblurring lower my image’s quality or add a watermark?
Most free unblur tools may add subtle watermarks or reduce output resolution; premium plans are typically watermark-free and full-quality.
Breakdown:
- Fotor, Picwish, and VanceAI all provide basic unblur for free, with slight branding or lower resolution.
- Pixlr and BeFunky usually have no watermark or compression for standard exports.
- Before committing, always download a test image to check output.
Q: Can I unblur an image for free?
Yes, several online resources and software options provide free or experimental versions of image unblurring. However, higher-end versions may have more advanced attributes and capabilities.
Q: How do I know which unblur tool is best for my needs?
Consider factors like ease of use, customization, processing speed, and compatibility with your devices and filetypes. Additionally, read reviews and experiment with different tools in order to determine which one is most appropriate for you.
Conclusion
Let’s face it—we’ve all snapped a photo at just the wrong moment, only to discover the blur later and wish we could turn back time. But here’s the good news: with today’s AI-powered unblur tools, you don’t need to be a wizard or own fancy software to fix most of life’s little photo disasters.
Unblurring an image online can be as easy as three clicks. For mild or moderate blur, web tools like Fotor, Picwish, and VanceAI (or free options like Pixlr and BeFunky) make it possible to rescue those favorite memories—oftentimes with no download, no hassle, and, if you choose wisely, absolutely no watermark.
Ultimately, mastering the art of resolving images is crucial to achieving professional-quality results in photography, design, and digital art. By studying the causes of image distortion and utilizing the appropriate techniques and instruments, you can convert blurry images into clear, sharp images that have a strong emotional impact and are effectively communicating your message. Experiment with different methods and tools for removing blurring in order to find the ones that are most effective for your specific desires and preferences.
And for a broader look at image restoration tools, consider reading Clear Vision: A Comprehensive Guide on How to Unblur Images for further inspiration.